Jack didn't plant no bean stock, it had to be
Hops! Why did he climb to the top?
To get the hop cones of course!
We started growing hops in 2000 and currently have thirteen types of hops growing here. The 1st year, we started Cascade, Mt Hoods, Nuggets, Willamette's, Tettenger and a decorative hop called Bianca Gold. This particular hop grows very aggressively and I have taken cuttings and planted it all around the property as a decorative hop, as it is not that great in beer. In their 2nd year, these hops went crazy, growing up around seven feet and then trained horizontally another 10 feet, to keep them within reach. Some of our 2nd year hops yielded about 2 pounds of dried hops! What a job picking and processing all those hops, but it's all part of the fun of brewing your own! The next year I planted five more plants, three of those being new varieties; Centennial, Chinook and Horizon. The third year I expanded the hop field to about double the original size. I planted rhizome cuttings from my Cascade, Mt Hood and Centennial, as well as planting two new variety's: Sterling and East Kent Goldings. In 2004 I added Magnum and Challenger to the field as well as starting a new area with cuttings of most everything I have for the sole purpose of rhizome production. We have around 33 plants growing in the field now, with others scattered around the property for decorative purposes. Hops are an amazing plant, growing extremely fast and surprising you with their growth especially if you haven't looked at them for a couple of days. I won't go into great detail about growing hops here, as there are some good web sites to check out on our beer sites page. I'll just say that they are very easy to grow, they start coming up in the spring, are ready for harvest around mid August to Mid September, die back down to the ground after the first frosts and come back up in the spring again.
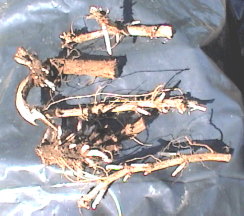
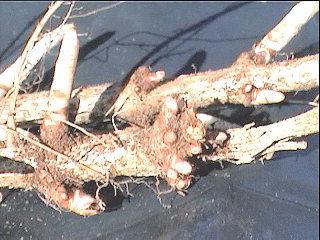
After two years of growth, it is possible to take root stock cuttings to propagate new plants. These cuttings are called rhizomes. I just finished removing the "Bianca gold" hop from my field, as it is a decorative hop variety. This hop had a monster of a root system, being about 2 foot around and 8 inches deep after I cut it as close to the crown, or center, as I could. The feeder roots went out around five or six feet and I ended up with many cuttings off this plant. I put the main root crown down by the house for decorative purposes, and am giving away the cuttings. I replaced the spot where this hop was growing with a cutting of my Cascade hops. In the following photos, you can see that there is active budding on the cuttings I took.
When you take a piece for propagation of a new plant, you need to make sure that there is at least a few little buds on the root stock. Plant in the spring after all danger of frost, water well and put in a support system for them to grow on. That's about it!
For more detailed hop information, be sure to check out my "more great beer sites" page for a link to Glenn Tinseth's Hop site.
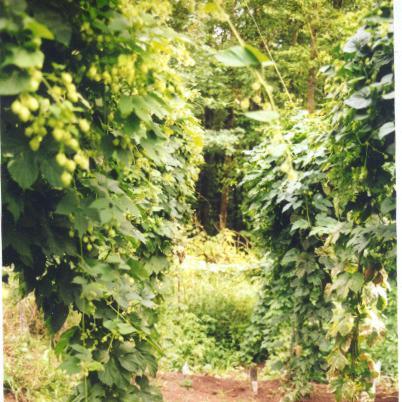
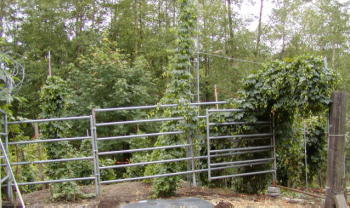
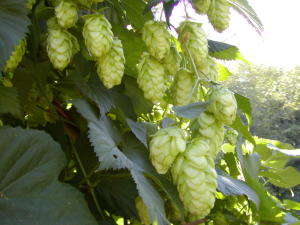
This is an overview of the field. I put a fence all the way around them to keep the deer out, but discovered that the deer do not like hops! (one of the only thing they don't dine on around here.) I have some decorative hops planted elsewhere out in the open and although there are deer tracks all around, they do not touch the hops. It may be that they would eat the young shoots in the spring, but they do not like them when they get bigger.
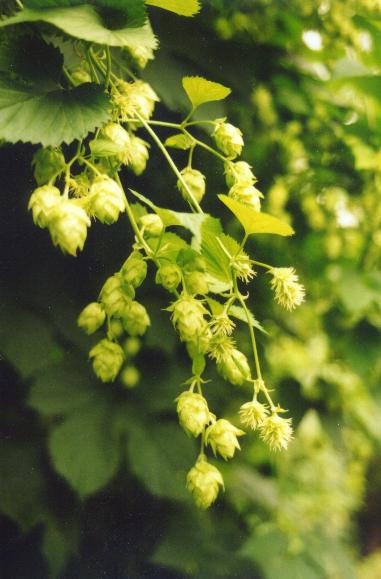
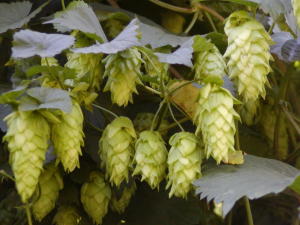
Here is a photo of the hop cones just before harvest. They were ready in mid September. When you harvest, you wait until the cones go from a green and heavy state, to a feel of a lighter-dryer condition cone. Some of the hop cones at this time will show some browning of the petals.
It's Harvest time!!
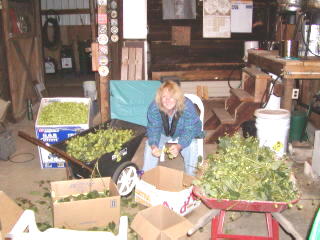
Hop harvest Party
It always helps to have some friends over
for a Hop picking party at harvest time. This year we had another big
harvest. Most plants will yield a pound or more of dried hops, so when
you have a lot of plants growing, expect a big harvest. I figure we had
around 25 pounds of dried hops for the season! This year we started
around the first of September and finished three weeks later. Our Hop
picking party was a fun event, with beer on tap and a barbeque
lunch.
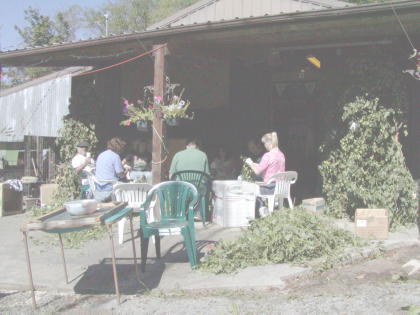
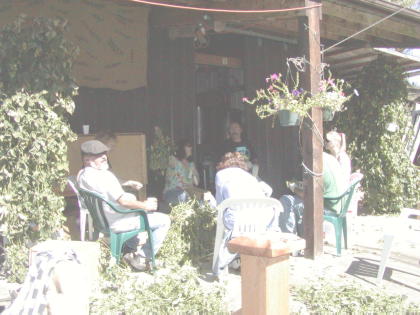
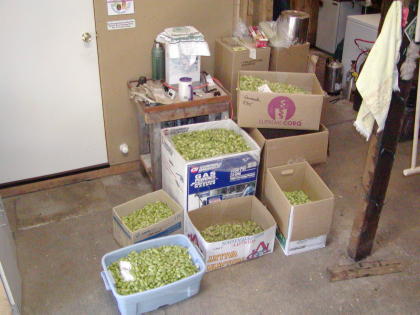
This years harvest was big and plentiful. We have so many hops to dry and process, that I built a large hop dryer. Some of the varieties yielded four to six pounds dried! Paula's favorite method is to bring the vines into the brewery and pick them sitting down.
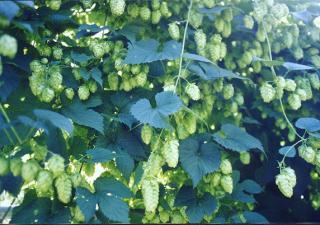
Here is a look down the Hop field. Probably the toughest thing that you have to do when growing hops, is to try and keep the different varieties apart, as they want to Hop over to wind and grow into another plant near them. last year we went on vacation in the summer for three weeks and when we got back, I had to take a machete and slice them apart as they jumped rows!
This picture shows some of the hop cones still developing and some that are more mature. As you get into August they begin to show the yellow lupulin glands that are the bittering agent in hop cones.
Deer
Island Brewery / Projects /
Brewery Photos /
News & Events
Favorite Brew Pubs
/ More Great Beer Sites
Email? webmaster@deerislandbrewery.com
![]()
Chinook's Willamettes
 The
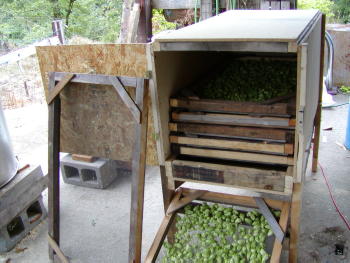
need for a large capacity hop dryer comes with growing a large amount of
Hops. It becomes essential because there is no way that you can
dry in the sun, or in a food dryer, with the amount of hops that you will
harvest. This box is 25" wide by 48" long x 24"
tall. I can stack my eight trays and rotate them as the hops dry
out. The trays are 24" x 41". It is heated by a small
box heater and fan, pushing hot air through ducting, up through the bottom of
the box. The temperature is around 90 to 100 degrees and a tray of hops
will dry out in about 24 hours. I then vacuum package and freeze the
Hops for use.
The
need for a large capacity hop dryer comes with growing a large amount of
Hops. It becomes essential because there is no way that you can
dry in the sun, or in a food dryer, with the amount of hops that you will
harvest. This box is 25" wide by 48" long x 24"
tall. I can stack my eight trays and rotate them as the hops dry
out. The trays are 24" x 41". It is heated by a small
box heater and fan, pushing hot air through ducting, up through the bottom of
the box. The temperature is around 90 to 100 degrees and a tray of hops
will dry out in about 24 hours. I then vacuum package and freeze the
Hops for use.
 HOME
HOME